Growing Citrus with Less Water Talk

I attended a talk hosted by Annie’s Annuals about growing Citrus trees with less water. The speaker talked about a lot of topics related to Citrus. He mentioned that California has historically been a dry area and the recent years (I can’t remember how much exactly, maybe hundreds) has been wetter than normal, which we have been getting used to. So now with the drought in California, it’s pretty much just getting back to normal. He showed some drip systems and highly suggested using mulch. Mulch, mulch, mulch, mulch, mulch! He also uses straw like I do, so I felt like I’m doing it right. He also mentioned that Citrus grow very well in containers and suggested using Coir Mulch as 1/3 or the soil you use. This will really help retain water.

I attended a very informative 'Growing Citrus with Less Water' talk at Annie's Annuals &  Perennials... then went plant shopping!!!

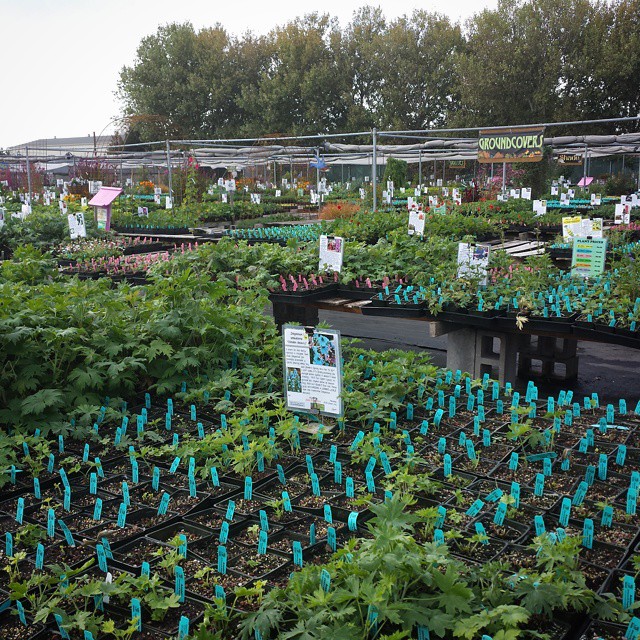
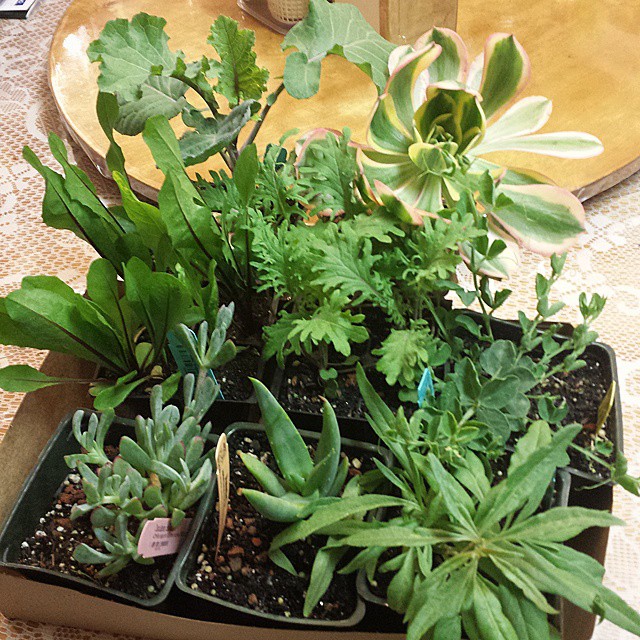
After the talk, I went around the nursery and went plant shopping. I got a couple of plants.

My new plants from Annie's Annuals & Perennials. (top to bottom, left to right) Kale 'Richmond' Pride' (Purple Tree Collard), Sunburst Aeonium, Dandelion 'Red Rib', Red Russian Kale, Blue Vein Sweet Pea, Oscularia caulescens, Cat's Tail Aloe and Goji Berr

The good thing is that I didn’t have to spend any cash, because I was about to use a gift certificate that they gave me when they used one of my photos.

Mulched…

Today I replaced the newspaper mulch in one of my veggie beds with ground bark. I like the results a lot better.

Veggie Bed #1 with Newspaper (Before)   Veggie Bed #1 with Ground Bark Mulch (After)

I was thinking of leaving the newspaper under then bark, but water didn’t seem to go through the newspaper that well.

Makin’ Newspaper Pots…

Here’s the sequel to Newspaper Mulch… “Newspaper Pots”

1. Cut a page of newspaper in half.
2. Fold the top and bottom in to form a strip. For my pots, I used the sink tiles as a guide and made the strips 4 inches tall.
3. Roll the strip around a soda can.

4. Secure the strip with a little piece of masking tape at the top.
5. Move the can up to make room at the bottom to push the sides in. Fold the seam into the bottom of the can.
6. Repeat folding around the sides in until you have created a bottom for the pot. If you want, you can also place a little piece of tape here.

7. Here’s the finished Newspaper Pot.
8. Fill to the top with potting mix.
9. Sow some seeds in it and place in a tray.

I saw instructions to make pots out of newspaper on the web and modified it to the size I want. In my case, a soda can was the perfect size, but you can use a bigger can or a bottle.

This is the first time I’ve done this, so I’m not sure if the walls of the pot are thick enough. I may use 2 plies of newspaper in step 1 next time… I’ll just see how this first batch goes.

Once the plants are ready to transplant, place the whole thing including the newspaper in the ground. The newspaper should decompose and you won’t have to disturb the roots.

How’d I do? :)

Also posted in Gardening